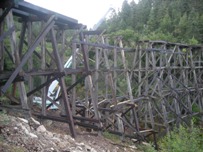
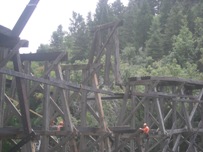
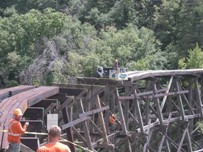
At the start of the day. The mud sill for Bent #9 has already been replaced. A lot of excavation was required, since, over the years, about 4 feet of soil had flowed on top of the mud sill. A short section has been rebuilt on top of the mud sill; only one timber from this lowest section was reused. [Low down = moist = likely to rot]. The lower mid-section, the removal of which was shown in the September 6 photos, has already been put back in place.
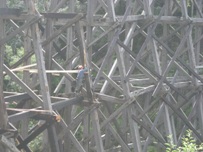
A closer view
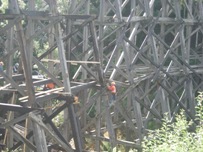
The crane is lowering the upper mid-section into place.
Two Osmose workers guide it into place.
And set it down precisely.
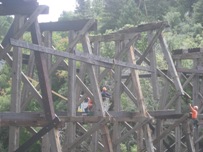
They are installing a brace between Bent #7 and Bent #8.
A carpenter’s level is used to make sure that the section is vertical. Then 2 x 4’s are nailed in place as temporary braces.
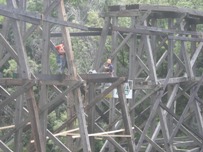
They are installing a brace between Bent #8 and Bent #9.
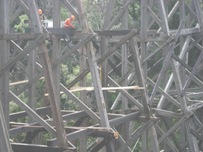
That was neat; let’s do it again. The crane brings the top section.
Guide it in.
Gently and precisely
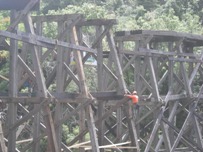

Installing a temporary brace between Bent #9 and Bent #10
Getting ready to “shoot the elevation”. First the marker pole is measured on a reference spot.
Then the cap is measured. The difference in these two measurements is used to determine how much to cut off of the top section batters and plumbs. The desired result is to have the right inside and outside height for the bent.
The old cap must be replaced.

The workers have installed guides and are using a chain saw to trim about a foot off the batters and plumbs.
The crane delivers the new cap and shim assembly.

Gently, into place